
Supplies:
14 Brown envelopes (I used A5 but you could make a larger A4 one)
2 pieces of card (same size as your envelopes)
A4 paper
Patterned paper (I only used 1 double-sided sheet!)
Coordinating cardstock
Ribbons & braids
Paint
Tissue paper
Vintage Buttons
Border Punch
Bind It All machine & wires
Alphabet Stickers (+/or computer)
General craft tools and adhesives
The DIY:
Put your pieces of card inside two of your envelopes and seal - these will be your covers. For the other 12 envelopes, stick the tabs of the envelopes inside the envelope to create a pocket.
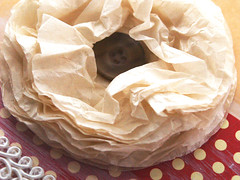
To create the paper flower - cut lots of circles from tissue paper. Using a circle paper punch will make this easier. Stick them all together in the centre and stick a vintage button on top. Crumple up all the layers of tissue paper to give your flower shape.
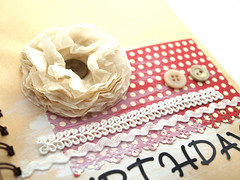
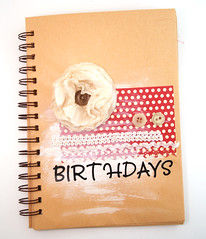
Decorate your front cover. Cut a piece of patterned paper and punch along the bottom edge using a decorative punch. Stick this in place on your cover. Add a piece of braid and a piece of ric-rac, your paper flower, more vintage buttons and your alphabet stickers.
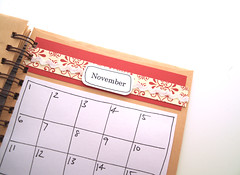
Create a title for each pocket using a couple of pieces of patterned paper/cardstock, braid or ribbon and a title. These were printed on the computer, cut out, and a hand-drawn border added. You could use more alphabet sticker, stamps or rub-ons if you wish.
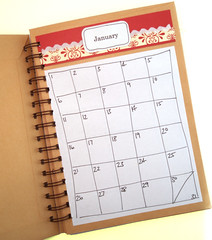
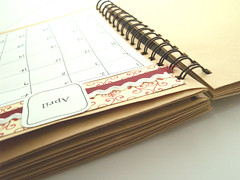
To make your calendars, cut pieces of white paper to fit your pockets. Hand draw a grid of 5 boxes across and 6 boxes down. For months with 31 days you wil need to split the bottom right box with a diagonal line. Write, stamp or stick on numbers for the days of the month.

Using your Bind-It-All, bind all your pages and covers together to create your book.
Lisa x
No comments:
Post a Comment